Skill Level:
Crafting Time:
Technique(s):
Material(s):
Category:
Share This Craft
Search Crafts
Reversible Christmas Apron
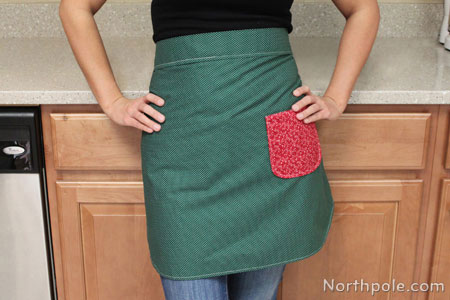
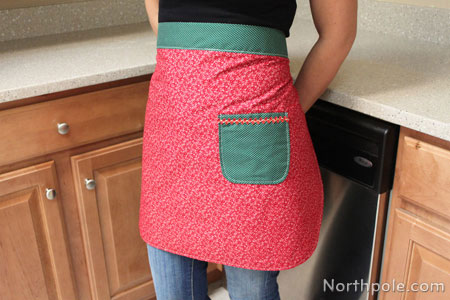
During the holidays, many of us spend a lot of time in the kitchen—perhaps baking cookies, whipping up some fudge, or preparing brunch for Christmas Day. Whether you sew this for yourself or your favorite chef, this apron is both cute and functional. It’s so pretty you might want to make one for every season! Plus, we made this apron in about 2 hours, so it’s fairly quick and easy to make.
Supplies & Tools:
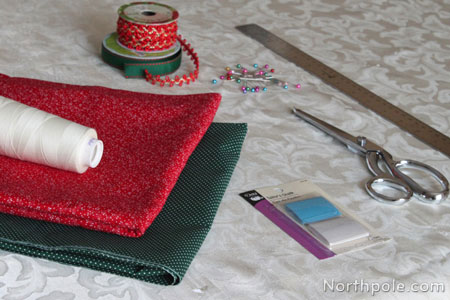
- 1 yard green fabric
- 1 yard red fabric
- Thread
- Ruler
- Scissors
- Pins
- Tailor’s chalk
- Iron & ironing board
- Sewing machine
- Heavy duty needle for sewing machine
- Optional: decorative ribbon
Directions:
Prepare the Fabric:
- Wash, dry, and iron fabric.
- Measure and cut a 20" x 30" piece from the green fabric. Use tailor’s chalk to mark the cut lines.
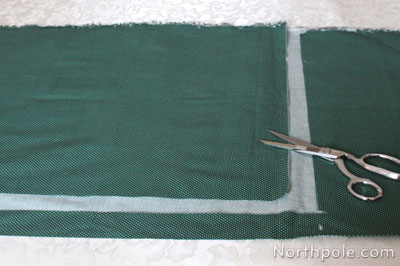
- Measure and cut a 20" x 30" piece from the red fabric.
- Stack the red and green rectangles together.
- Fold the stack in half, and locate one of the corners where there are 4 layers of fabric. (Not along the fold line.) Use tailor’s chalk to draw a curved line to round off the corner.
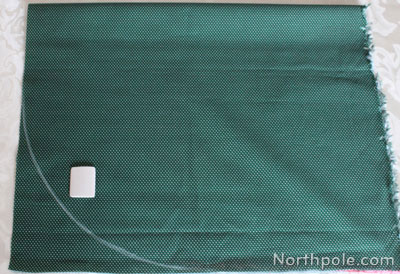
- Cut along the curved line and unfold the fabric pieces. Your pieces of fabric should look like this:
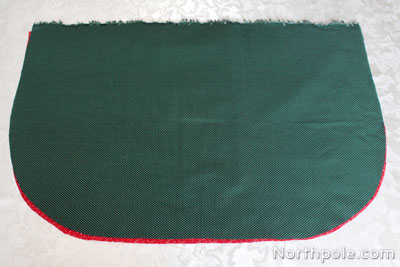
- Set these pieces aside.
Prepare the Pockets:
- Measure and cut two 6" squares from the green fabric.
- Measure and cut two 6" squares from the red fabric.
- Stack 1 red square and one green square together. Stack the remaining two squares together.
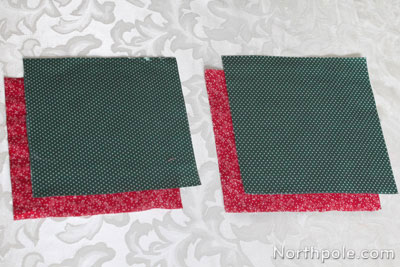
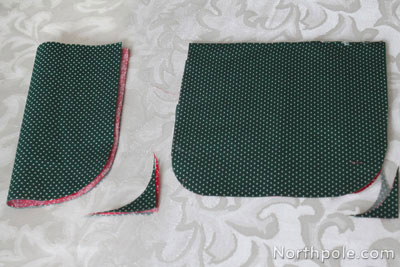
- Fold each stack in half and round off the corners.

- Unfold, and they should look like this:
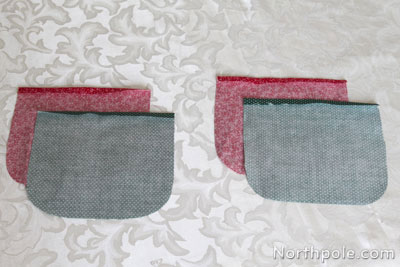
- Place these pieces on the ironing board, right side down.
- Fold back the top edge about 3/8" and press. Repeat for each piece.
- If you want a decorative trim on the pocket, cut a piece of ribbon and sew it about 1/2" from the folded edge on the patterned side. If you do not want a trim, skip this step and go to step 9.
- Now stack 1 red and 1 green piece together, right sides facing each other, and pin.
Note: Be sure that the top (folded) edges are aligned.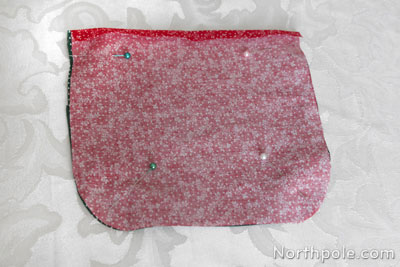
- Repeat step 9 for the remaining two squares.
- Now sew along the “U” line of each set of squares.
Note: Do NOT sew along the top edge.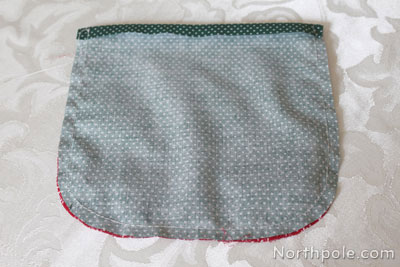
- Turn each set right side out, and iron the seams.
- Sew a straight line along the top edge of the top piece of each set, about 1/4" from the edge. (You are sewing this pocket shut. The true pocket is formed when this is sewn onto the apron.) Now the pockets are ready to be attached to the apron.
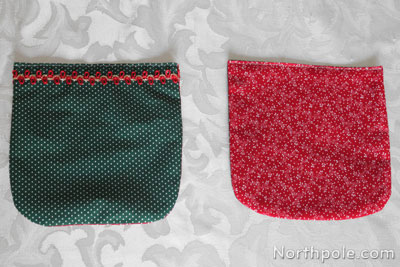
Attach Pockets to the Apron:
- Lay one pocket, red side up, on the green apron piece. Pin in place.
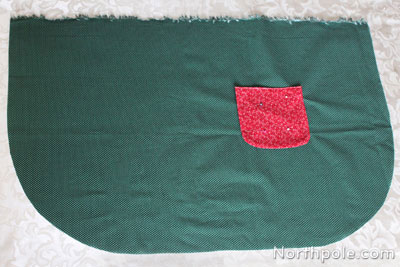
- Lay the other pocket, green side up, on the red apron piece. Pin in place.
- Sew each pocket piece along the “U” line. (Do not sew the pocket shut!) Remove pins and set aside.
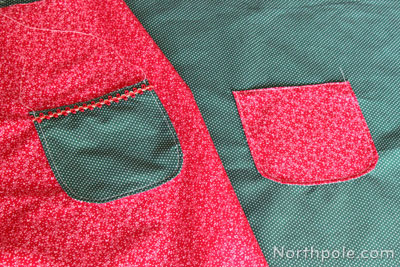
- To get rid of loose strings, pull the strings to the reverse side of fabric and tie a knot. OR trim the thread and dab a small amount Fray Check over the last few stitches. We like using Fray Check because it is a quick and easy way to secure loose ends of thread.
Assemble the Apron:
- Now stack the two apron pieces together, patterned sides facing each other. Pin in place.
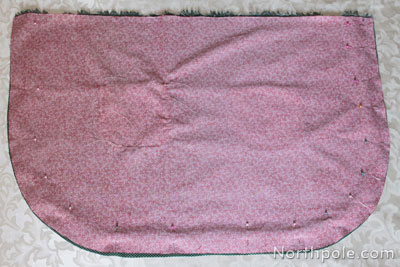
- Sew along the “U” line, about 1/2" from the edge. Sew slowly as you sew around the curves, otherwise the sewing machine will chomp away at your apron! (In other words, make sure that the stitches don’t get sloppy.)
- Turn right side out, and press the seams.
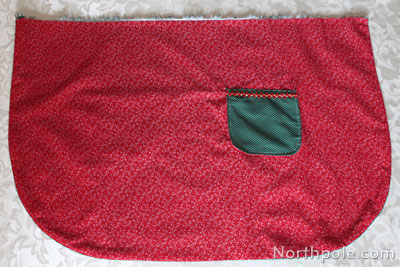
- Now sew along the “U” line, about 1/4" from the edge. We aligned the edge of the apron with the side of the presser foot.
Note: Sewing along the "U" line helps give the apron a finished look, and it also helps keep the layers pressed together.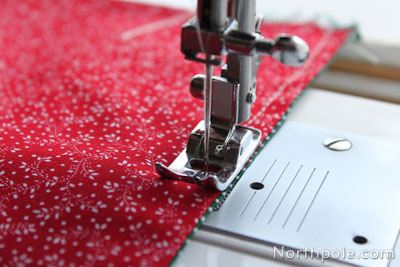
- Now that your apron is coming together, all we need to do now is to add the ties.
- For the ties, you can use bias tape (buy it at the craft store) or you can make your own. Want to make your own bias tape using your favorite fabric? Click here for instructions.
- Take the bias tape and center it over the apron.
- Place the top edge of the apron in the fold of the bias tape. Pin in place.
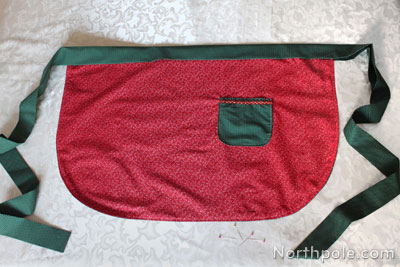
- Add pins along the entire length of the ties.
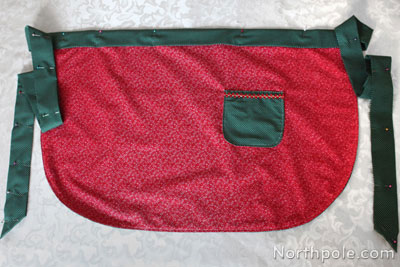
- At each end of the tie, open it, and fold the corners in, creating a point. (You don’t need to use pins; we used pins to hold the corners down while we took the photo.)
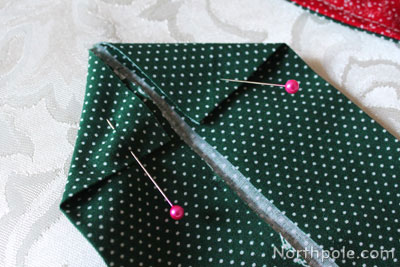
- Now fold the tape and pin in place.
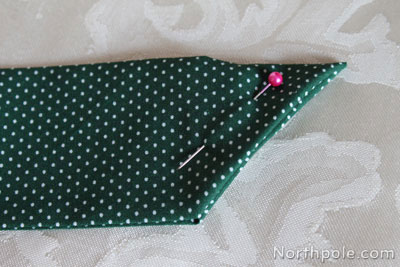
- Begin sewing at one end of the tie—about 1/4" from the edge—and continue sewing all the way across the apron and across the entire length of the tie.
- Tie up loose ends of thread (or use Fray Check) and trim the thread.
- Apron is done! Wrap (or roll) it up nicely to give as a Christmas gift!
DIY Bias Tape
What is a bias anyway? It is a strip of fabric that is cut on a 45° angle to the grain of the fabric. When it is cut this way, bias tape can be wrapped/sewn around curvy edges, which results in a smooth, finished look. What we are showing you here is a quickie version of the real deal. If you were making true bias tape, you would need to cut the fabric on a 45° angle, but because we only need it for a straight edge, we will be using fabric strips cut in line with the grain.
Why make the bias tape at all? If you're wondering if you can simply use a long, continuous piece of fabric to make the apron ties, you can, but you'd have to buy more fabric! We are always looking for cost effective ways to make things, so we prefer to get good use out of 1 yard of fabric.
Directions:
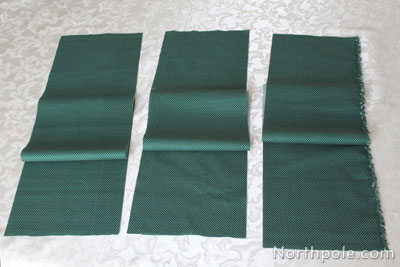
- We cut strips from the leftover piece of green fabric (above). Your strips may be longer depending on the type of fabric you’re using (for example, if the bolt of fabric was 44", 48", or 54" wide.) We cut 3 strips, each measuring 8" x 40".
- Lay one strip of fabric on a flat surface, right side up. Take a second strip and lay it down perpendicularly to the first. Pin in place.
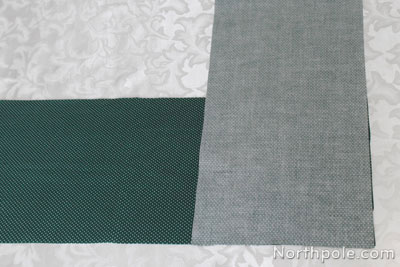
- Looking at the square that is “formed” by the overlapping pieces, use tailor’s chalk to draw a diagonal line from the upper right corner to the lower left corner.
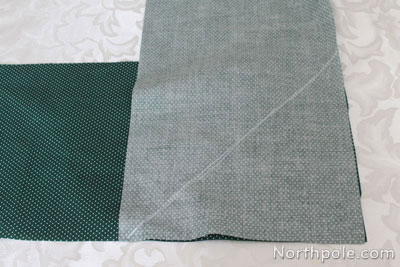
- Sew along this line.
- Cut excess fabric.
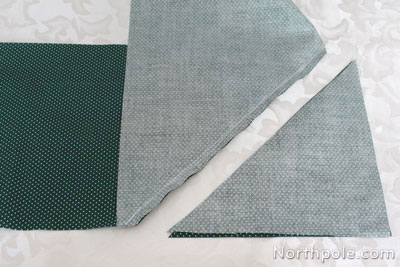
- Open the fabric strips, see how they made a continuous line?
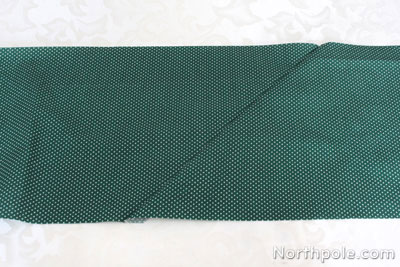
- Now iron to press the seam open. Repeat for the reverse side.
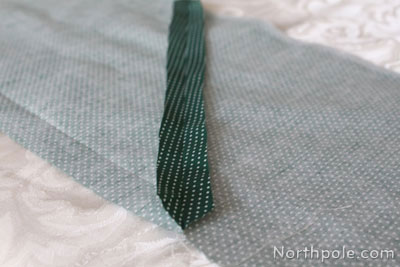
- Repeat steps 2–7 to add more fabric strips.
- Once you have the desired length, fold the long strip of fabric in half, lengthwise.
Note: Folded it as you iron it, working in small sections.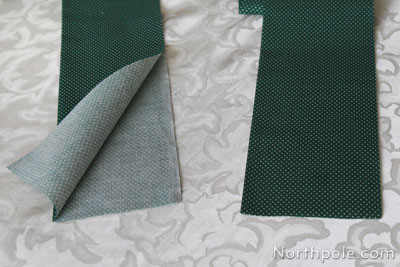
- One at a time, fold both flaps of fabric into the center crease, and iron.
Note: Work slowly to make sure that these ‘double folds’ are accurate. - So, now if you unfold the strip of fabric, it should look like this:
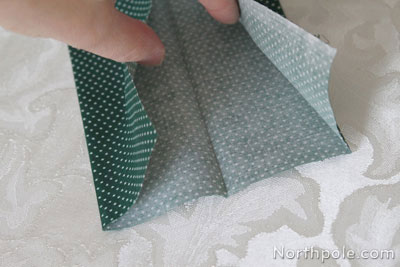
- Fold up the bias tape, and follow instructions above for sewing it onto your apron!
Companion Craft for Kids:
We made a kid version of this craft, so parents and children can make festive aprons together! It is tailored for mini-me’s and is perfect for little crafters. Click here for the instructions.

Simple Stenciled Christmas Apron


