


Skill Level:
Crafting Time:
Category:
Tag(s):
Share This Craft
Search Crafts
Ruffled Photo Booth Backdrop

With this fluffy, ruffle-y backdrop, your photo booth will be a fun hub where friends and family can capture memories as they take silly (or serious, or seriously silly) pictures at your next holiday party. If you happen to mention that you created this textured wonder, let your guests marvel as they try to determine what it’s made of! What’s more, this backdrop is easy to make and is budget friendly (less than $10!), so this project is a win in our book.
Supplies & Tools:

- 3 plastic table covers*
- Sharp scissors**
- 7/16" x 36" round wood dowel
- Medium binder clips (1.25" wide)
- Small or medium Command® Hooks
*Three table covers make enough ruffles to fill a 36" dowel nicely. If you want to make a wider backdrop, you’ll need additional dowels and table covers.
**Make sure you’re using a pair of really sharp scissors so that you can get nice, crisp lines! A dull pair of scissors will tear the table covers.
Directions:
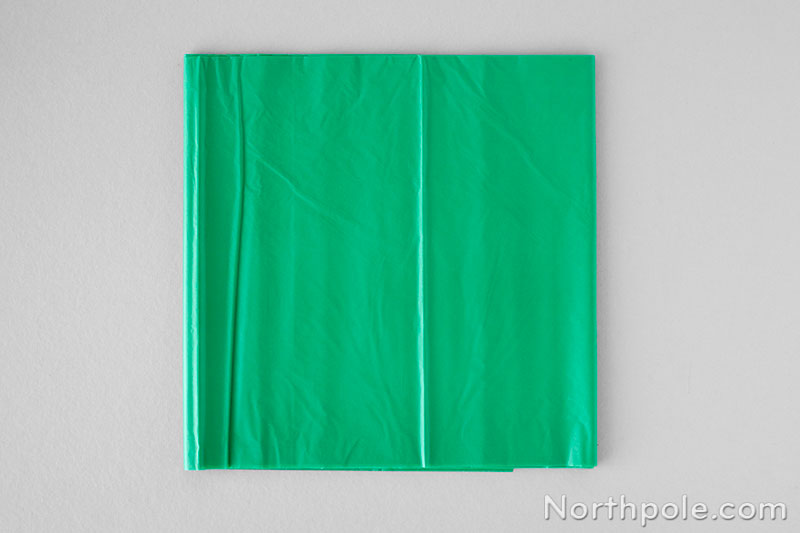
- Remove the outer wrap from the table cover and partially unfold it—you should have a long skinny rectangle (108" x 13.5").
Note: Do NOT completely unfold the table cover! You want the layers to cling together as much as possible until step 9. That static is magic! - Now fold the table cover (end over end) into a square that is about 13.5" x 13.5". Use your hands to press and smooth out some wrinkles and remove excess air.
- Keeping the folded table cover on your work surface, cut out a large circle, but don’t worry about making it perfect. Make sure to cut off all the folded edges, then discard the edge pieces.
Note: Keeping the table cover flat on a table prevents the layers from slipping so you can get an even cut all the way around. As long as your scissors are sharp, you won’t have a problem cutting out the circle. It’s also worth noting that the edges will stick together—but just barely—as the scissors slightly pinch the plastic while cutting. This is great because it’ll help keep the layers together as you complete steps 4–6.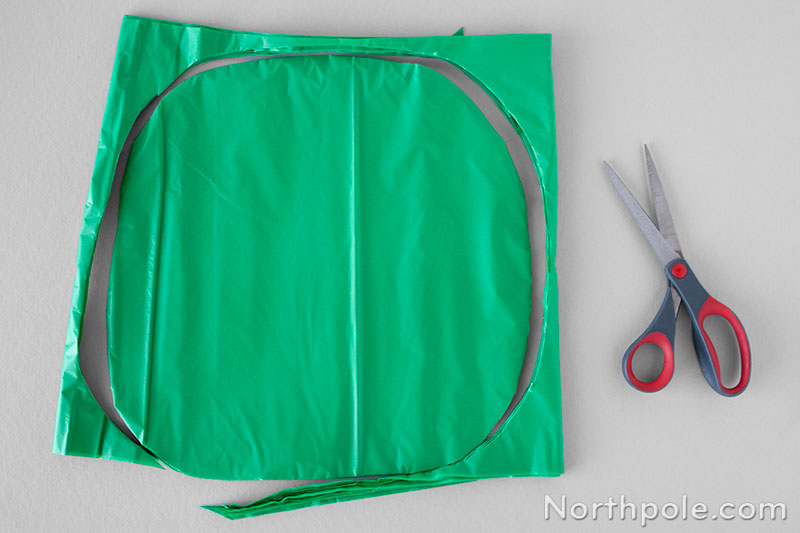
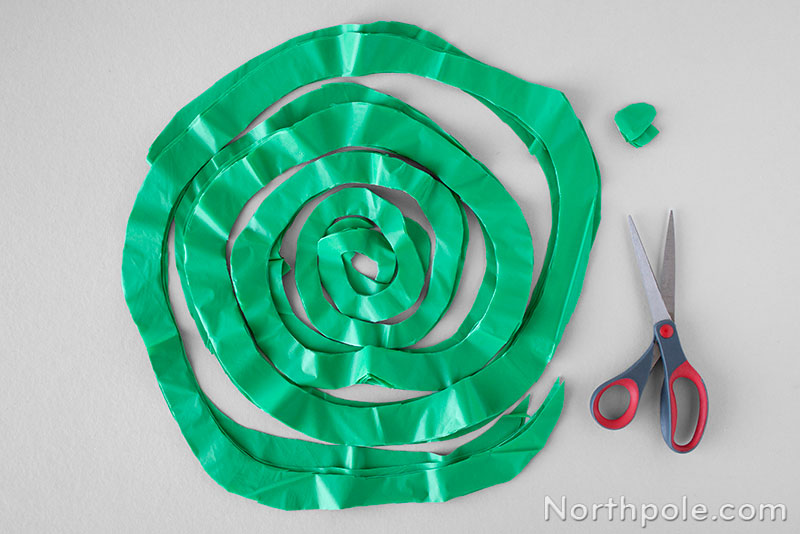
- With your table cover pieces still stacked, begin cutting the circle into a spiral. We like the width of the spiral “strip” to be 0.75–1.25". If the strips are wider, they will end up being too short for the backdrop, and if they’re too thin, they will be too flimsy.
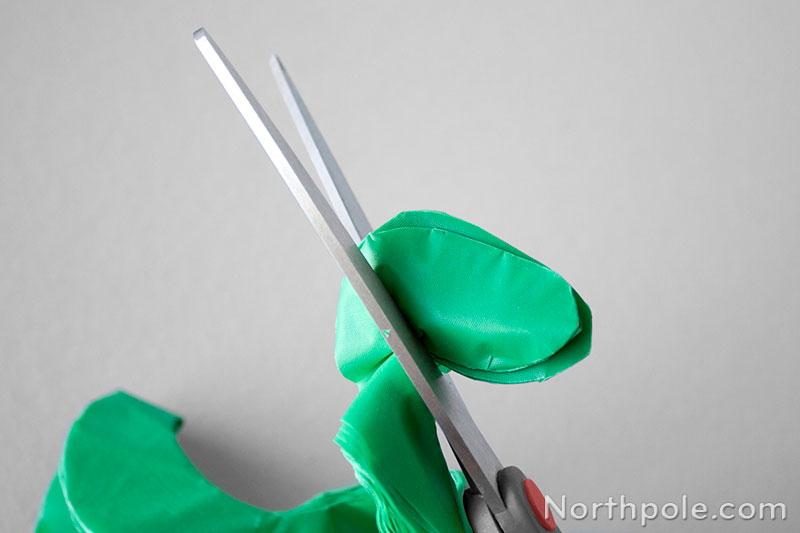
- As you get to the center of the circle, cut off the round nub so that the strip has a pointed tip.
- Repeat steps 1–5 with the other two table covers.
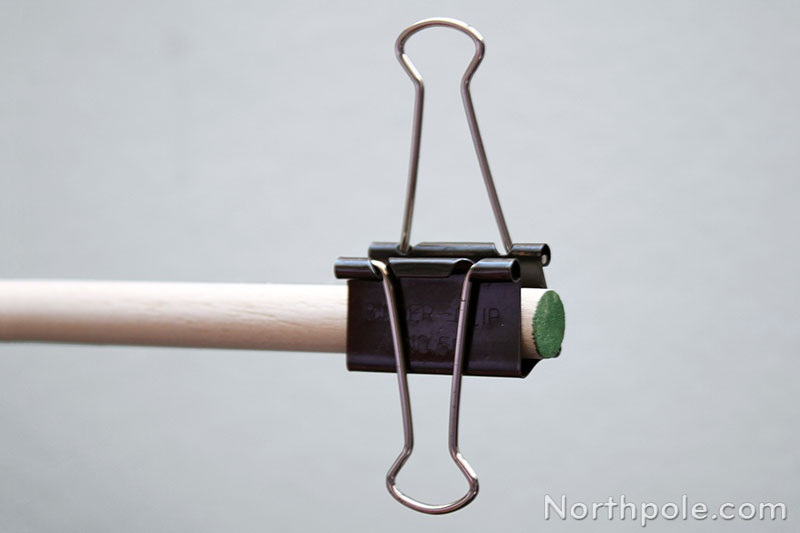
Note: Once you’re ready to hang your backdrop, proceed to step 7. If you’re making the backdrop in advance, then stop here for now. The ruffles are delicate and can tangle easily, so it’s best to separate the ruffles only when you’re ready to hang your backdrop. - Place a binder clip on each end of the dowel as shown below. When it’s time to hang the backdrop, you will use the wire on each end to suspend the dowel on the Command Hooks.
- Adhere the Command Hooks to the wall, using the dowel to measure the distance between the hooks. We recommend hanging the dowel 6.5–7" feet from the floor so the backdrop will be high enough to accommodate your tall guests.
- Separate all the strips and drape them over the dowel. This step takes patience, but it is so satisfying to see the strips transform into dainty, fluffy ruffles!
- Prop the dowel on a couple chairs.
- Notice that the strips cling together in small groupings. Start by separating a small group from the rest of the spiral pile.
- With a small group of strips in one hand, separate the strips—one at a time—with your free hand.
- Drape each strip over the dowel before you continue to ruffle more strips. This will help keep the backdrop looking neat and prevent the ruffles from getting tangled.
Note: It’s best if the middle of each strip is draped over the dowel so they don’t slide off. - Continue pulling the spiral strips apart and draping them over dowel. When you’ve ruffled all the spiral strips, you’re ready to hang the dowel.
- Using the wire of the binder clips, hang your backdrop on the Command Hooks and get ready to party! If you would like additional ideas and tips for setting up your photo booth, see our article DIY Christmas Party Photo Booth.


Elfy Hints:
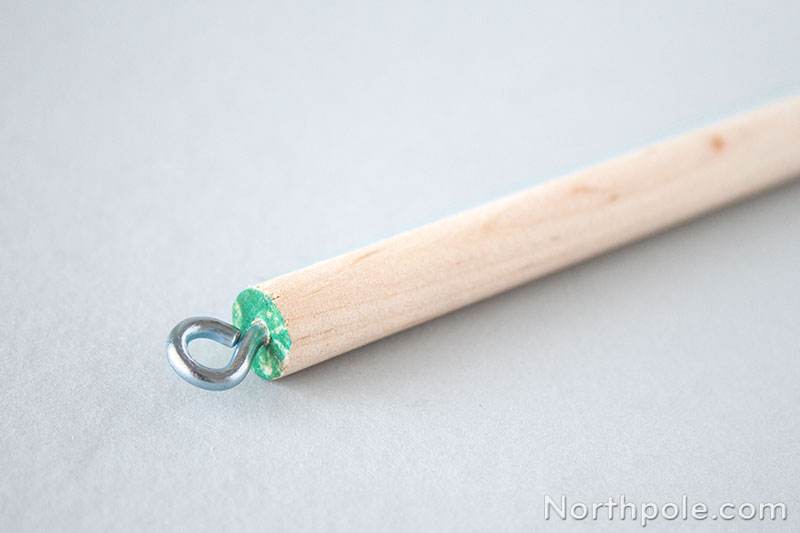
- To hang the backdrop in an inconspicuous way, insert a screw eye into each end of the dowel. When you’re ready to hang your backdrop, simply slide the eyes onto the wire of small clear Command Hooks.
- The Dollar Tree is our go-to shop for plastic table covers, but Walmart also has a decent variety of colors. We’ve found that each store carries slightly different hues, which is great when you want similar (but not matching) shades. This is particularly true for the blue and green table covers.
Ideas from the Elves:
- Going for a wintery look? Swap the red and green table covers for different shades of blue. You’ll have a lovely backdrop that looks like cascading spirals in frozen tones.
- Use various shades of green and blue to make a “seaweed” backdrop for a Christmas in July party.


