Skill Level:
Crafting Time:
Material(s):
Artificial Flowers
Foam
Pinecones & Sticks
Category:
Poinsettia & Berries Centerpiece
Share This Craft
Search Crafts
Poinsettia & Berries Centerpiece
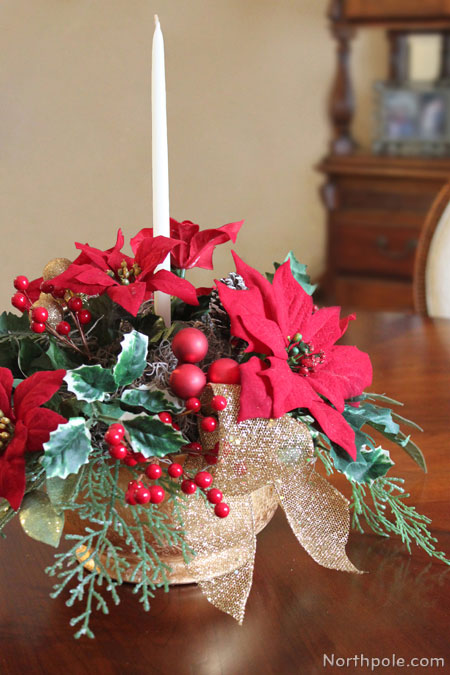
Typically, florists call this type of arrangement “long & low.” This style of arrangement is meant to stay on a table, even during mealtimes, and is also appropriate for a coffee table or a fireplace mantel. It is low so that you can see across the table, and it is long—meaning that the linear flowers are used to add length and not height. In this centerpiece, we used greenery (instead of flowers) to add length. You can use whatever flowers or greenery you like—just be sure to get face flowers, linear flowers, filler, and greens. Read on for details about how to make your own festive floral centerpiece.
If this is your first foray into floral arranging, you may want to check out our article Artificial Floral Arranging 101.
Supplies & Tools:
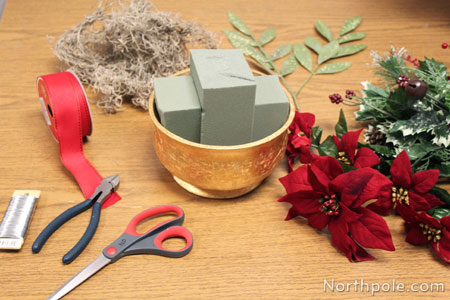
- Face flowers (We used 5 poinsettias.)
- Linear flowers and/or foliage (We used 2 pieces of foliage.)
- Greenery
- Filler flowers (We used berries.)
- Dry floral foam
- Spanish moss
- Container
- 2–3 bricks of dry floral foam
- Knife
- Wire cutters
- Ribbon
- Wire
- Scissors
Directions:
- Select a container for floral arrangement.
- Select flowers and greens for arrangement.
- Choose colors.
- Choose a style of arrangement. This will alter the types of flowers used.
- Choose flowers. Be sure to include some linear, face, and filler flowers, as well as some greenery.
- Place a piece of floral foam into container. Foam should be at least 1" above the container. Cut foam with a kitchen knife as needed.
- Secure foam in place. There are a variety of ways to secure foam in the container:
- Use hot glue.
- Cut wedges from foam. Pack wedges into container on either side of the main piece of foam.
- Crumple up newspaper and pack around the foam until it holds to foam firmly in place.
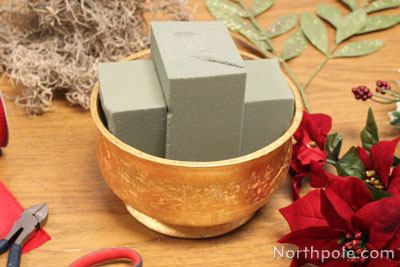
- Lightly cover the foam with Spanish moss. Only a little bit of moss is needed since the majority of the foam will be hidden by the flowers. No need to glue the moss; once flowers are stuck into the foam, they will hold the moss in place.
- Add the long greens on either side of the foam. These will be the longest part of the arrangement.
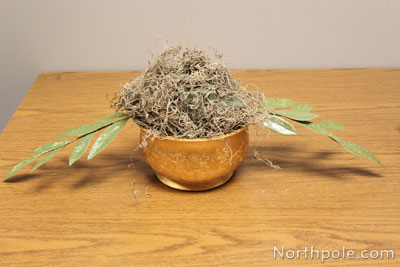
- To add ribbon tails, cut a piece of ribbon that is about 14" long. (Length may vary depending on the width of the ribbon. Our ribbon is 3" wide.)
- Grab ribbon in the center and fold half. Cut a piece of wire that is about 10" long and wrap around the fold, twisting wire to secure it.
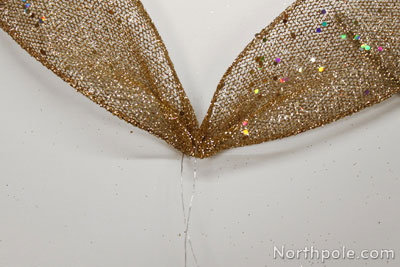
- Take the tails and wrap wire around a stick (We used a clean chopstick).
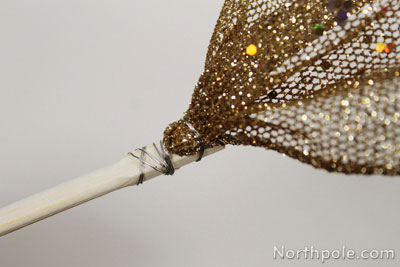
- To make a ribbon loop, cut a piece of ribbon that is about 12" long.
- Cut a piece of wire that is 10" long.
- Create the loop by tying the ends of the ribbon together with wire.
- Attach to a stick.
- Repeat steps 7–13 to make another set of loop & tails.
- Add the loops and tails to the arrangement, one on each side, slightly off center.
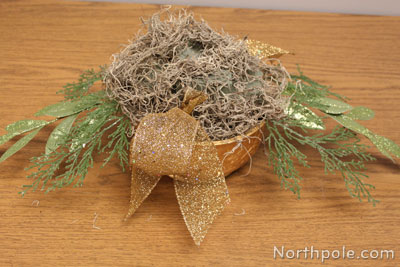
- Add other flat greenery as a loose collar around the arrangement. They should be slightly shorter than the long greens.
- Add mini ornament balls and pinecones. Attach to a stick using wire, if necessary, and stick into foam.
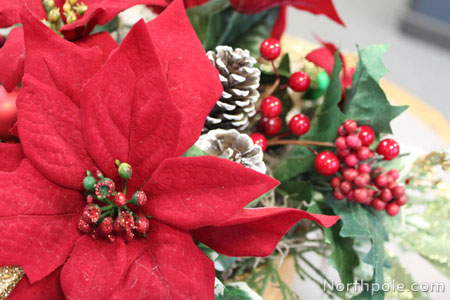
- Add poinsettias to arrangement. Place the biggest blooms facing forward, on both the front and back. (These blooms will be the focal point of the arrangement.)
- Add smaller poinsettias on the sides and top.
- Fill in with greenery and berries as desired.
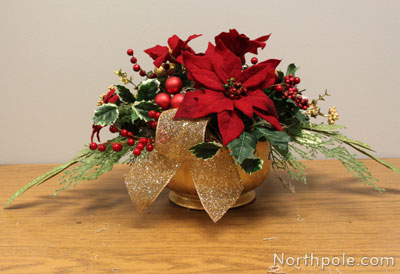
Idea from the Elves:
- Add a taper candle to the center of the arrangement. Be sure to add candle to arrangement before adding any ribbon, greens, flowers, etc. We find it helpful to carve the bottom of the candle to a dull point before sticking it into the foam. This helps to keep it in the foam.
