Skill Level:
Crafting Time:
Material(s):
Category:
Share This Craft
Search Crafts
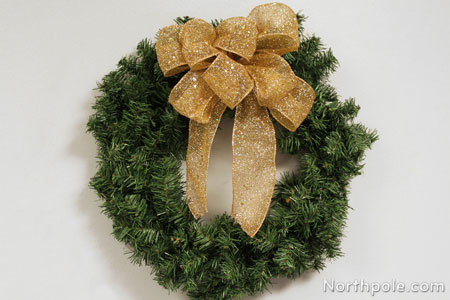
How to Make a Bow Like a Pro

Learn how to make your own fabulous bows—just like the professionals. Apply this technique to any ribbon (satin, grosgrain, etc.) of any width from 0.25 inch to 3 inches! Wired ribbon works best since it is forgiving; the wire allows it to be shaped and reshaped if it gets squished. Once comfortable with this method, a non-wired ribbon can be used. These directions are for right-handed crafters, but if you are a lefty, just reverse hands.
Supplies & Tools:
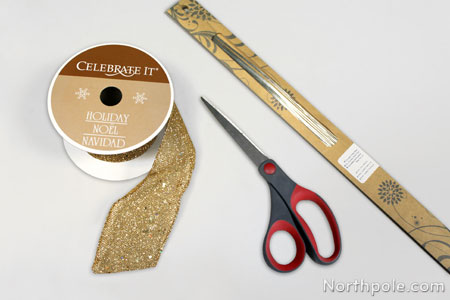
- Spool of ribbon (at least 3 yards)
- Scissors
- Floral wire, 26 gauge
Directions:
- Your left hand’s primary function is to hold the bow. Your right hand will do all the work.
- Take one end of the ribbon in left hand. Use the right hand to move the ribbon making a loop. (We’ll call this loop 1.)
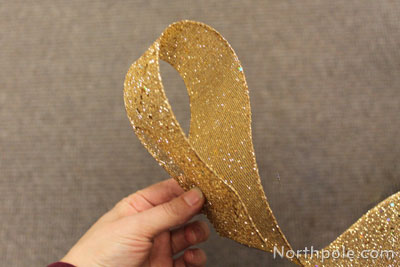
- Squish/gather the ribbon.
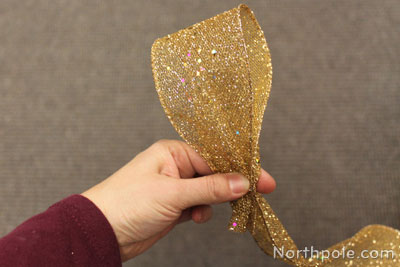
- With right hand, twist the ribbon just below the thumb/forefinger of your left hand. The right side of the ribbon should now be face up.
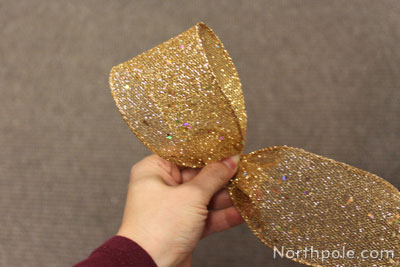
- Loop ribbon under and gather with left hand. (We’ll call this loop 2.)
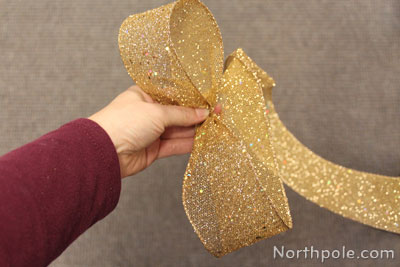
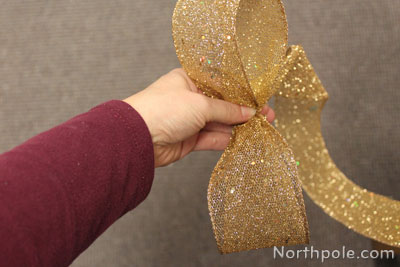
- Twist the ribbon so that it is now facing up.
- Make a slightly larger loop directly behind loop 1.
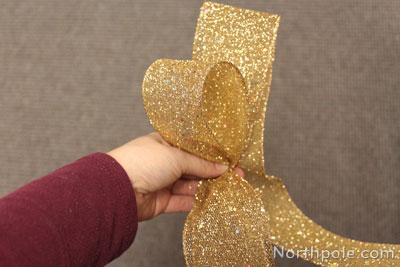
- Gather ribbon and twist.
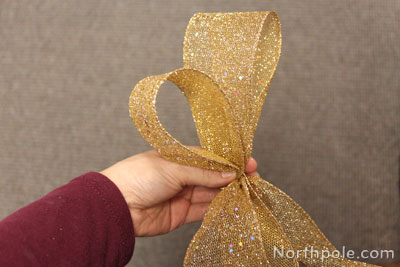
- Make a slightly larger loop directly behind loop 2.
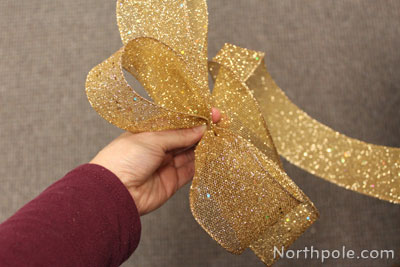
- Gently pull ribbon out to the side.
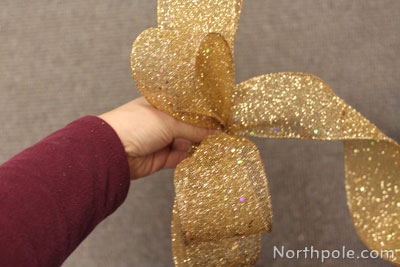
- Make a loop beside loop 1, making it the same length as loop 1. (Going forward, I’ll reference this as loop 5.)
- Gather and twist.
- Make a loop beside loop 2, making it the same length as loop 2. (We’ll call this loop 6.)
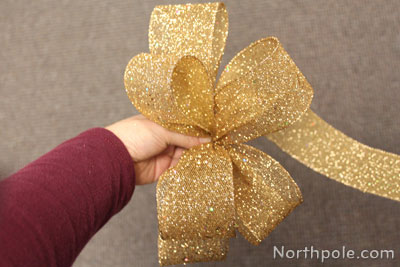
- Gather and twist.
- Make a loop beside loop 3 (behind loop 5), making it the same length as loop 3.
- Gather and twist.
- Make a loop beside loop 4 (behind loop 6), making it the same length as loop 4.
- Gather and twist.
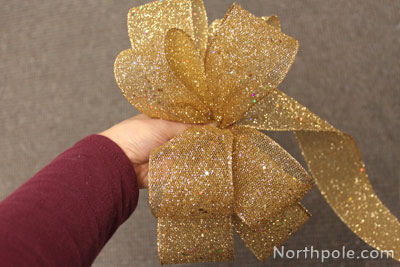
- Make one large loop out to the side. (This will become the tails of the bow.)
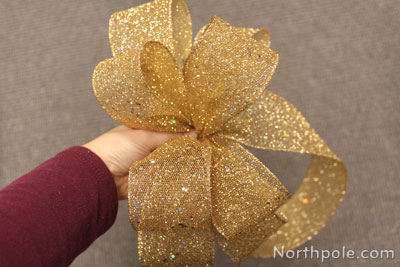
- Gather ribbon on the back of the bow.
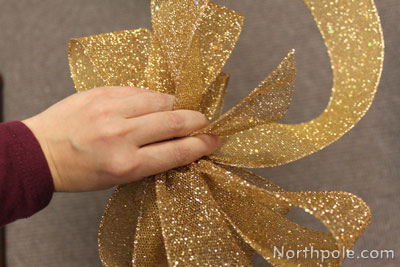
- Wrap a long piece of florists wire (about 18" long) around the center bow (where you have been holding it).
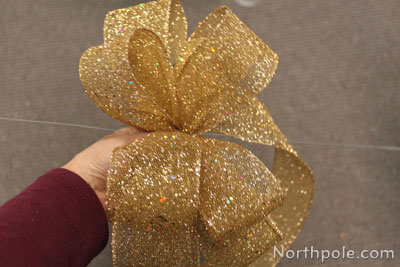
- Bring wire to the back of the bow and twist the wire to secure the ribbon.
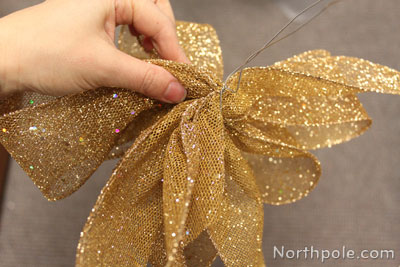
- Take the ribbon of the long loop (step 19) and cut in half. These are the tails.
- The bow might look a bit lumpy, but do not worry. It reshapes easily since it is wired ribbon.
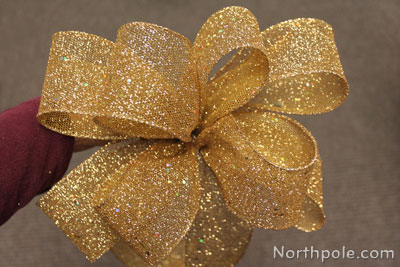
Elfy Hint:
- In lieu of florist’s wire, use a piece or ribbon to tie the bow together. We prefer to work with wire because it can be attached to many different objects. With wire, you can attach the bow to a Christmas tree, floral arrangement, or a potted plant. Try wrapping the wire around a stick or rod and poke into floral foam (or into the soil of a potted plant).
