Skill Level:
Crafting Time:
Material(s):
Category:
Tag(s):
Share This Craft
Search Crafts
Gnome in Your Home
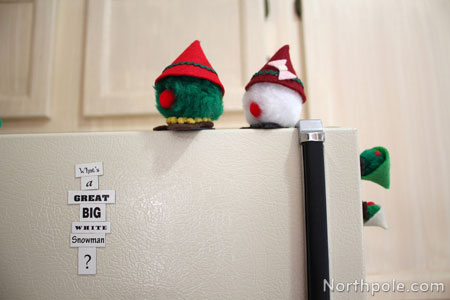
Meet the Christmas gnomes. Left to right: Papa G, Mama G, Kiddo G, and Baby G. Kiddo’s hat is just a teensy bit too large, but it’s Papa’s old hat, and Kiddo can’t wait to grow into it. Aren’t they cute? They’re round, fluffy, and just a wee bit bouncy!
Make one or more—these guys are a great gift idea! With magnets on their feet, they are simply adorable as jar toppers for gifts in a jar, such as sugared nuts or a cookie mix. The gnomes also might like to hop onto your refrigerator or filing cabinet. Who knows what other mischievous things these little guys might get into…
Supplies & Tools:
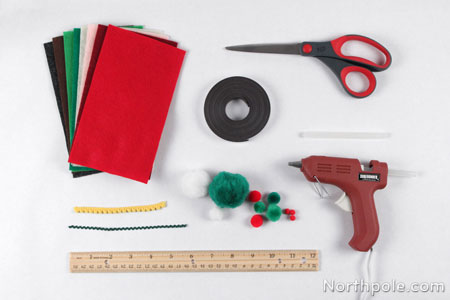
- Printable template (download here)
- Pompoms, assorted sizes
- Felt, assorted colors
- Scissors
- Hot glue gun & glue sticks
- Baby rick rack
- Adhesive-backed magnet strips
- Optional: puffy trim
Directions:
- Print the template and set aside.
- Using the template as a guide, cut out a semicircle from the felt, and set aside.
Note: The size of the semicircle depends on the size of the pompom. We cut a 4" circle in half for mama and papa gnome (about a 2" pompom). - Cut out feet from felt, using the template as a guide. Set aside.
- Select a large pompom for the gnome’s body, and a small pompom for its nose.
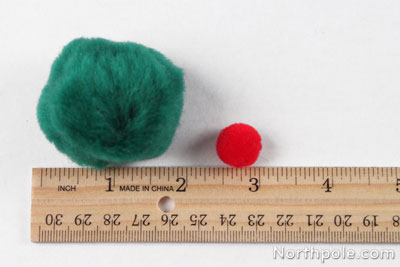
- Glue small pompon onto the large pompom. Burrowed a little hole (with your finger) into the large pompom so that the nose is inset.

- Roll the felt semicircle into a cone shape and hot glue the edges together.
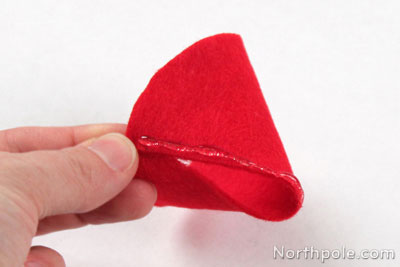
- To decorate the hat, cut a piece of rick rack that is about 5.5" long.
- Begin gluing at the seam (on the back of the hat), about 0.25" from the bottom edge.
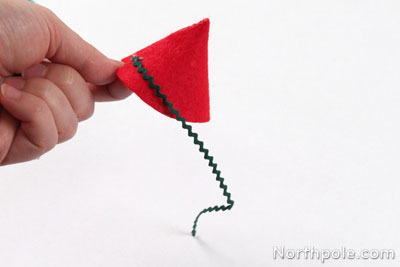
- Continue gluing as you wrap the rick rack around the hat.
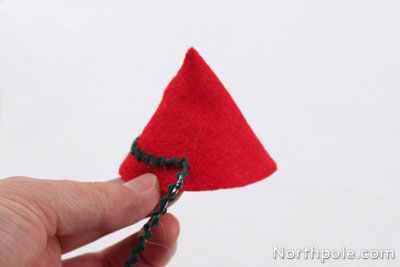
- As you finish gluing the rick rack, trim excess, if needed. 5.5" of ribbon was the perfect length for our hat!
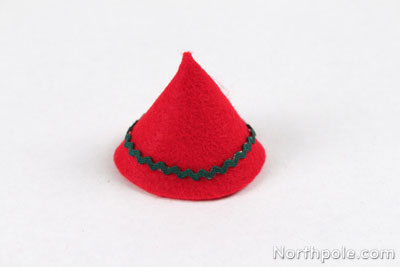
- Begin gluing at the seam (on the back of the hat), about 0.25" from the bottom edge.
- Optional: Make a collar of puffy trim:
- Cut a piece of puffy trim that is about 4" long.
- Glue the ends together, forming a loop.
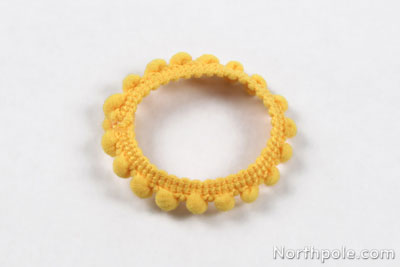
- Glue the collar to the bottom of the large pompom. (Be careful to glue the collar seam on the back of the gnome.)
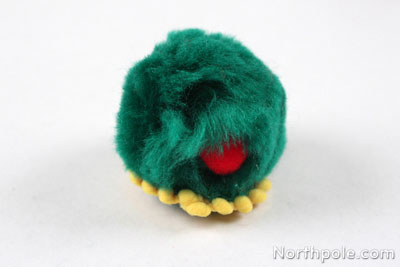
- Glue the feet to the bottom of the large pompom (beneath the collar).
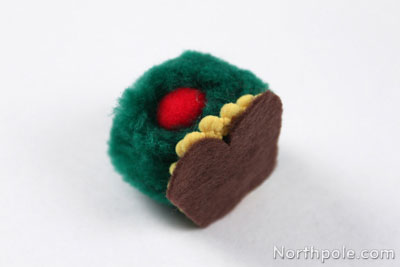
- Cut a piece of magnet for each foot and stick them underneath the feet.
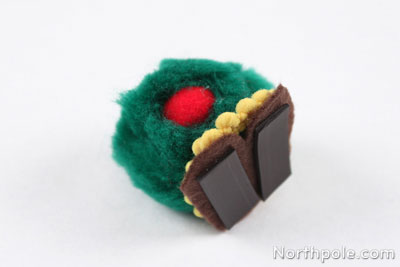
- Glue the hat on top of the pompom.
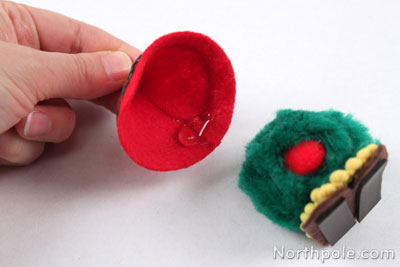
- Now your gnome is complete!
Ideas from the Elves:
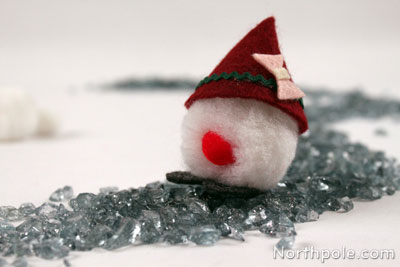
- Cut a small bow from felt for mama gnome’s hat.
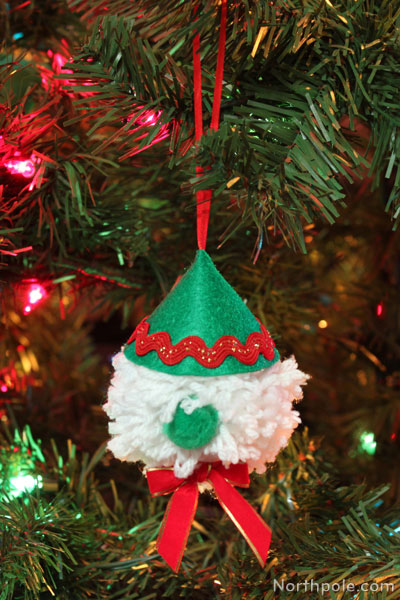
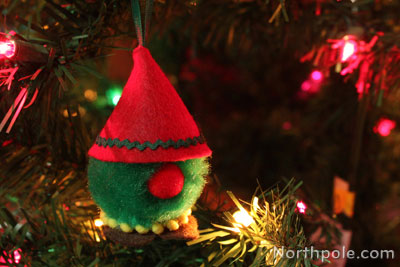
- Turn the gnomes into ornaments by gluing a string to the felt semicircle BEFORE rolling it into a hat.
- Make a yarn pompom in lieu of a store-bought pompom.
