Skill Level:
Crafting Time:
Material(s):
Category:
DIY Gift Bags: Cute as a Button
Tag(s):
Share This Craft
Search Crafts
DIY Gift Bags: Cute as a Button
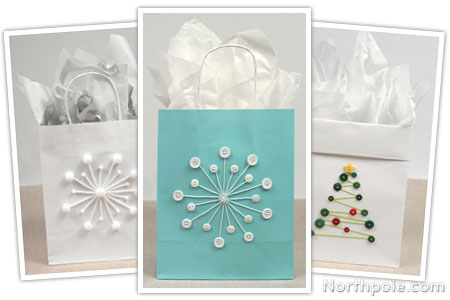
Want a unique way to embellish gift bags with a personal touch? Get crafty with these basic supplies: pompoms, buttons, and string! See below for instructions on how to make a tree and a couple different snowflakes.
Hot glue is often our go-to glue, but it’s not ideal for small things like buttons and pompoms because our little elfy fingers sometimes get burned. Aleene’s Fast Grab Tacky Glue is very thick and sticky, making it a great alternative to hot glue because it holds embellishments in place while the glue dries. The best part is that your fingers won’t get burned!
Supplies & Tools:
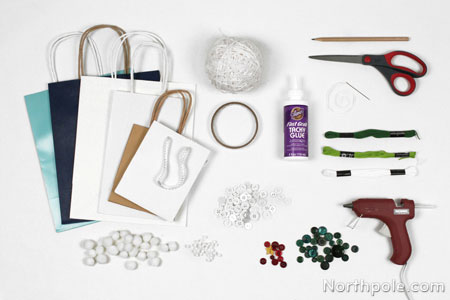
- Plain gift bags
- Assorted buttons
- Embroidery floss
- Embroidery needle
- Hot glue gun & glue sticks
- Yarn
- Pencil (or artist tape)
- Scissors
- Ruler
Button Tree
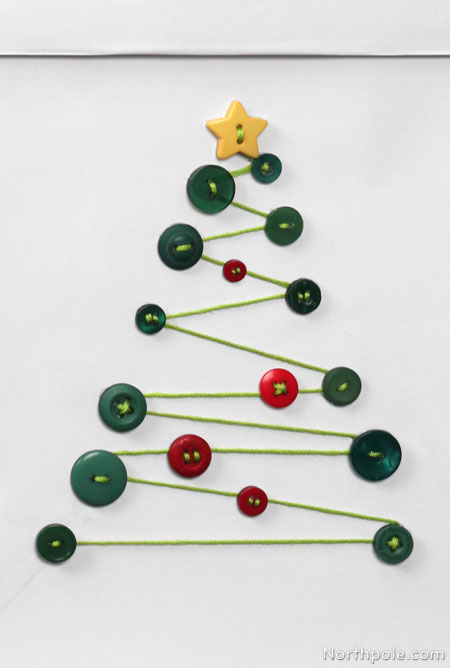
Make the size of your tree proportional to your gift bag. You can make it bigger or smaller depending on the size of your bag. Our bag is 7.75" x 9.75" and our tree is about 4.5" x 5.25".
Directions:
- Lightly sketch a tree on the gift bag. You don’t want the pencil lines to be visible once the bag is done, so draw very lightly. Or you can “draw” an outline with artist tape (and remove the tape after you finish gluing the tree).
- Cut a long piece of embroidery floss. Ours is about 36" long.
- Thread the embroidery floss through the needle.
- Pass the thread through a button, slide the button to the end of the string, and tie a knot. Trim the end of string.
- Glue this button (knot side down) in the bottom-left corner of the tree.
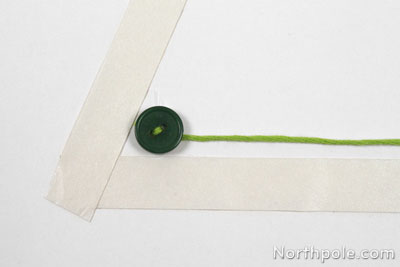
- Add a button to the string, and pass thread through the hole of the button, pulling thread until it fits in the tree outline.
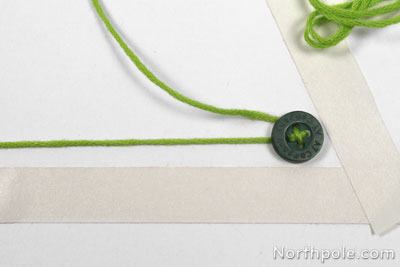
- Glue the button down.
- Continue to add buttons, one at a time, gluing after each addition.
- As you add the last button, tie a knot, trim the thread, and glue down.
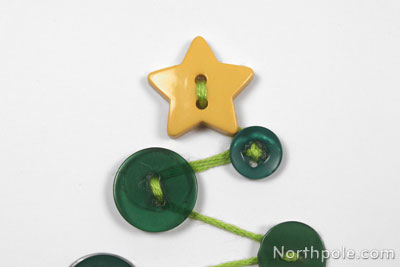
- Now your button tree is finished.
Button Snowflake
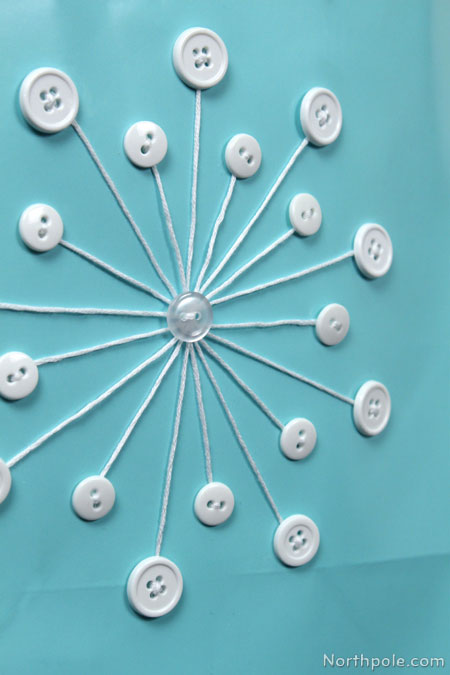
Remember how to make pompoms? We started making the snowflake with the same technique, but with only a few loops of embroidery floss. Once you’ve got that part down, the rest is pretty easy to do… just glue buttons over each end of floss.
Directions:
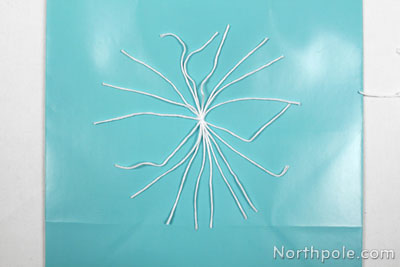
- Using embroidery floss, make a "pompom" with 4 loops. The length of the loops can vary depending on the size of your gift bag. The loops on our pompom are about 5.5" long. We used a piece of cardboard to wrap the loops. (Click here for more detailed instructions for making pompoms.)

- Cut another strand of floss and tie a double knot around the center of the loops. This strand should be the same length as the loops since it will become an “arm” of the snowflake.

- Cut the loops and trim ends so that all strands are the same length.
- Glue the knot in the center of gift bag and then spread each piece of floss out in the shape of a snowflake.
- Glue large buttons on the tip of every other “arm.” We tied a piece of floss around the button hole of each button to make it look like it was sewn (see ideas below).
- Trim every other “arm” of the snowflake.
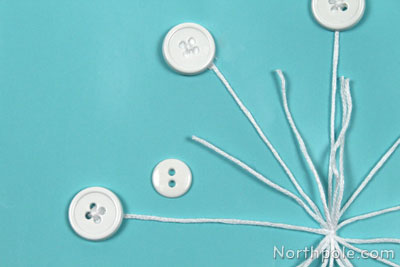
- Glue a small button over each remaining end of floss. We put a dot of glue on the button, pulled the string taut, and press the button over the end of the floss.
- To finish, glue a button in the center of the snowflake.
Fuzzy Snowflake
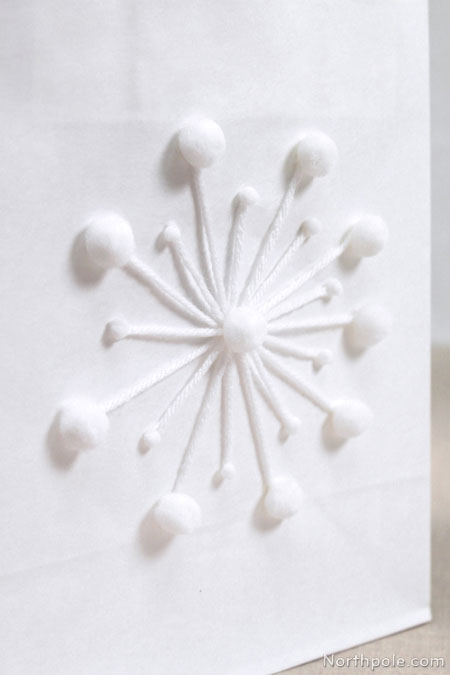
This fuzzy wuzzy snowflake almost makes us want to snuggle it! Follow the snowflake instructions above, using pompoms and yarn instead of buttons and embroidery floss.
Ideas from the Elves:
- If you want a more finished look, thread the buttons before gluing them onto the bag. It’ll look like they are sewn on the bag!
- Alternate way: Tie a button on each end of string, and then glue the buttons to the bag. We tried this, but thought it took much longer than the snowflake directions above.


