Skill Level:
Crafting Time:
Material(s):
Category:
Tag(s):
Share This Craft
Search Crafts
Burlap Snowman
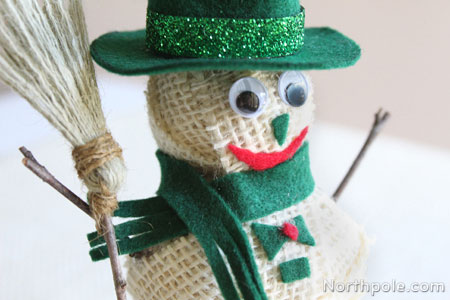
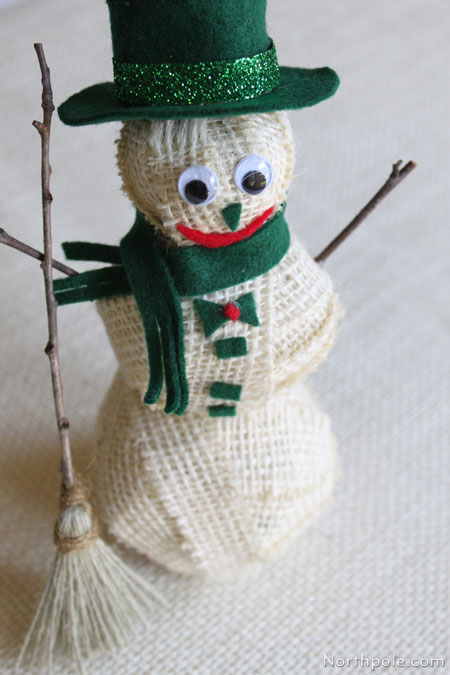
Snowmen are a classic winter icon. Bring the charm of these frosty, round men indoors with these delightful rustic burlap balls. Decorate them any way you wish!
Snowman
Supplies & Tools:
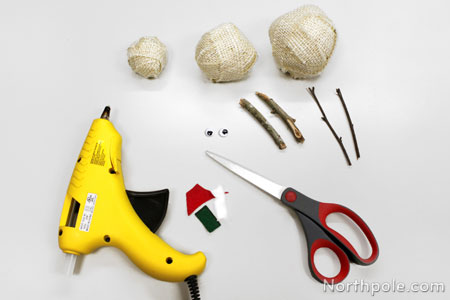
- 3 burlap balls, different sizes
- Wiggly eyes
- Scraps of felt
- 2 twigs – about 0.25" diameter and 3" long
- 2 thin twigs for arms
- Hot glue gun & glue sticks
- Hat & scarf (directions below)
- Broom (directions below)
- Optional: small buttons
Directions:
- Make burlap balls (instructions are here) or reuse the ones you made previously. You need different sizes—small, medium, and large. Ours measure: 1.75", 2.5", and 3".
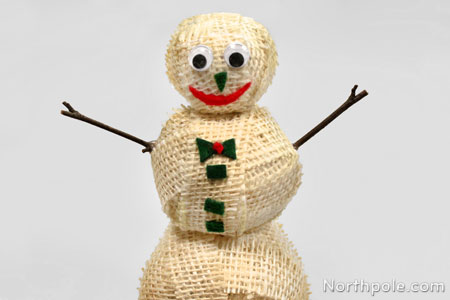
- Add facial features to the smallest ball. Add wiggly eyes. Cut out small shapes from felt for nose and/or mouth.
- Add small buttons (or scraps of felt) on the medium ball.
- Use hot glue to glue balls together.
- Glue sticks to bottom of the snowman. The sticks will help stabilize the snowman, enabling him to stand up.
- Glue thin twigs to the sides for arms.
Hat & Scarf
Supplies & Tools:

- Printable template (download here)
- Felt (any color)
- Marker
- Scissors
- Ribbon
- Hot glue
- Hot glue gun
- Ribbon (about 3/8" wide)
- Ruler
Directions:
- Print the template and cut out pieces.
- Lay felt on a flat surface.
- Lay pattern pieces on felt.
- Trace pattern pieces on felt using a marker.
- Cut out pieces.
Note: Fold #1 in half, and then cut lines in center, DO NOT CUT the dotted line.
- Roll the rectangle piece #2 so that it forms a cylinder shape, overlapping ends 1". Glue in place.

- Begin gluing piece #2 to piece #1. Gluing one at a time, apply glue to the triangular tabs of piece #1 and press against the inside of piece #2.


- Continue gluing until complete. Now it’s beginning to look like a hat!

- Fold over the tabs of piece #2. Place a small amount of glue on each tab, one at a time, and press piece #3 into place.
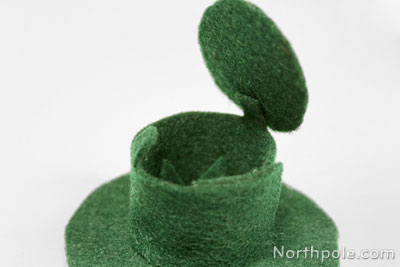
- Slightly lift the rim of piece #3. Apply a thin line of glue along the top ridge of the cylinder. Immediately press piece #3 down. Work in sections until the top of the hat is complete.

- Cut a piece of ribbon that is 5.5" long.
- Apply a small amount of glue to one end of the ribbon. Immediately place onto hat. Wrap ribbon around the hat and finish by securing with a small dot of glue.

- To make the scarf, cut a piece of felt that is 0.5 x 12 long. Cut lines on the ends of the strip to make fringes. Wrap around the snowman’s neck.
Broom
Supplies & Tools:

- Scrap pieces of burlap, at least 5" x 5"
- 1 long thread, burlap or thin twine
- Thin twig about 6" long
- Scissors
Directions:
- Pull threads from the burlap and neatly gather the threads.
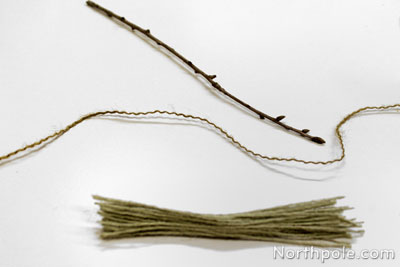
- With the longer piece of thread (or twine, or yarn) tie a knot around the middle of the threads.
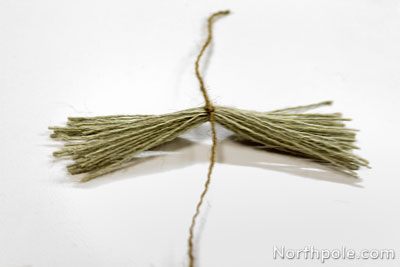
- Fold threads in half. Place twig near the knot. Gently pull a few threads of broom to cover the twig.
- Now take the long thread (that is tied in the middle of the broom) and wrap several times around the broom bristles.
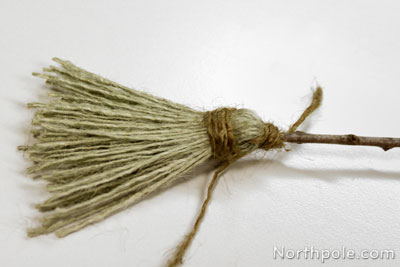
- Tie a knot and trim excess thread.
- Now your snowman has a broom!
